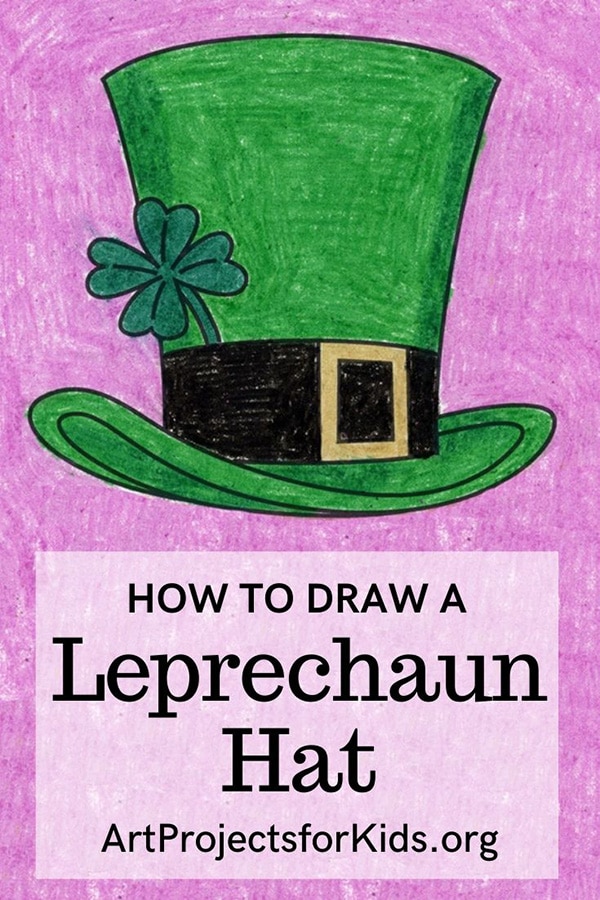
Below you will discover an effortless step-by-step tutorial for how to draw a Leprechaun Hat and a Leprechaun Hat Coloring Page.
Jump to Hat Tutorial
Why have students draw boring cylinders and tubes for a lesson in dimension when they can find out how to draw a Leprechaun hat rather? They fundamentally have the similar shape, the hat is just a bit wider at the top rated, that is all.
When the hat top rated is carried out, it is effortless to add a brim with a tiny curve to it. It’s doable to add a lesson in how the LINES of the brim make it appear like the SHAPE of a, say, potato chip or anything. That’s two Elements of Art words suitable there, and adding some darker Worth for shading will add a further. Love it when some festive seasonal drawings add some useful art lessons as nicely.
Also Read : Peanut Butter Oatmeal Cookies
Use the Button beneath to download a PDF Tutorial
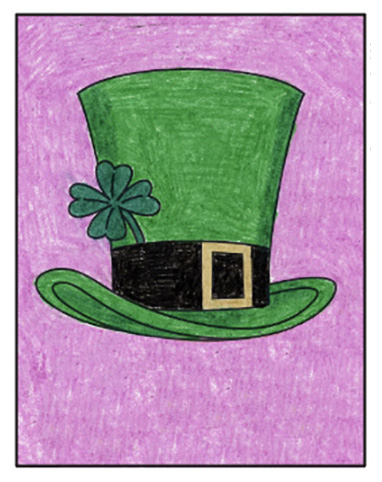
Leprechaun Hat Coloring Page
Materials to Draw a Leprechaun Hat
- Eraser. Large ones you can hold in your hand do a a great deal superior job than just the pencil guidelines.
- Black Sharpie Marker. These fine point permanent marker pens make good black outlines, have a great tip for coloring, and in no way bleed when they get wet. Use them with great ventilation and add further paper underneath to safeguard your tables.
- Prang Crayons. These are a bit softer than other crayons so they occasionally appear like oil pastels. They also have a some good brown shades that Crayola does not have unless you purchase their bigger boxes.
- Crayola Crayons. The dependable brand that generally operates nicely. The 24 pack has some of my favored golden orange and yellow colors that appear a bit richer and warmer than the ones Prang has.
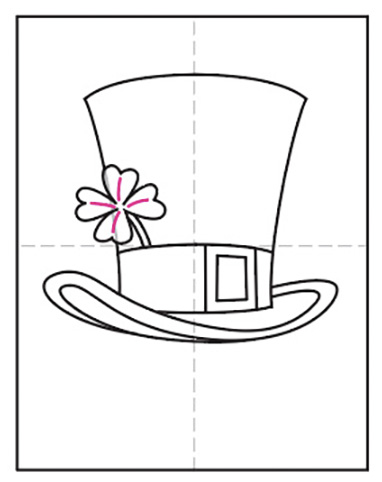
Step by Step Directions to Draw a Leprechaun Hat
Time necessary: 45 minutes.
How to draw a Leprechaun Hat
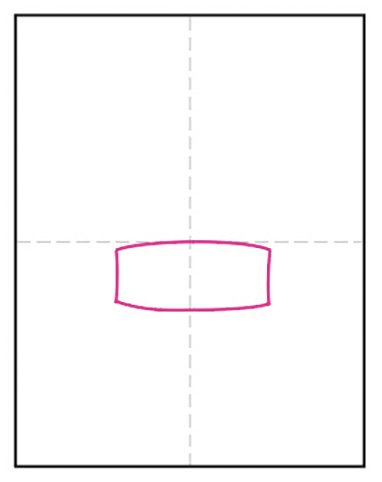
- Draw the band of the hat.

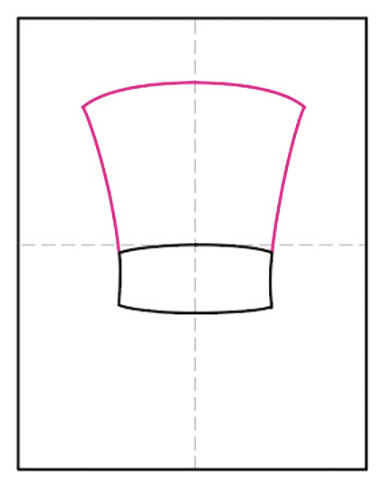
- Add the curved top rated above it.
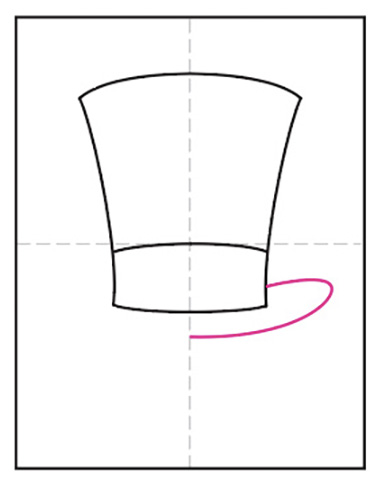
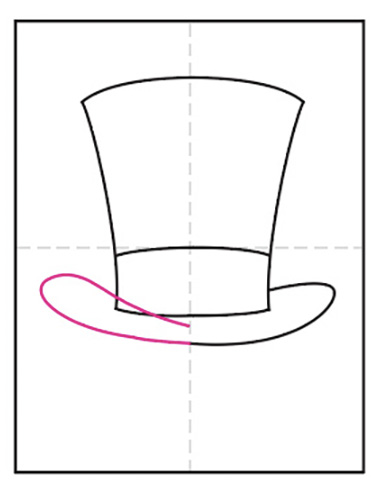
- Start the suitable brim of the hat.
- Continue the left side of the brim.
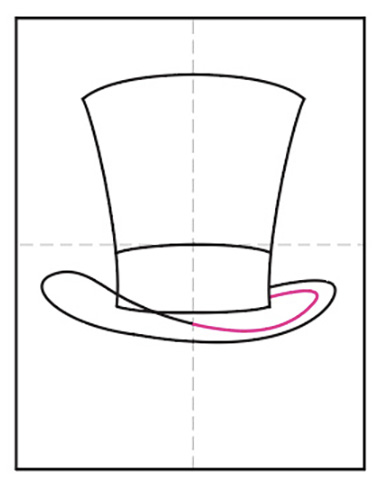
- Finish the curve on the suitable.
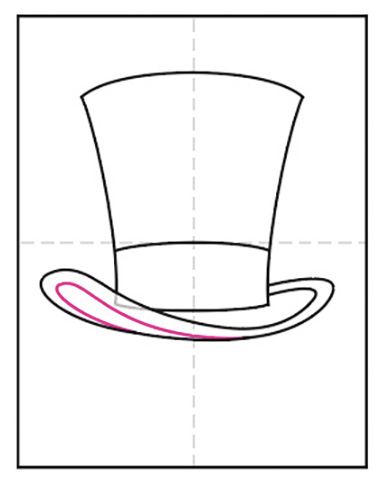
- Erase, add the curve underneath.
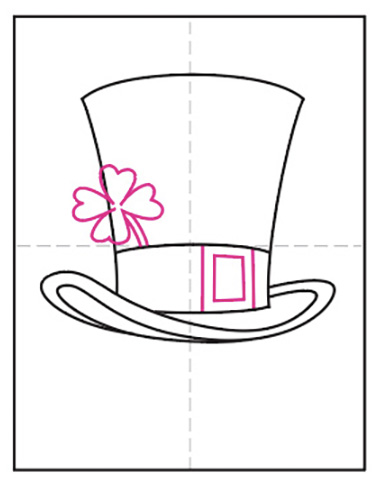
- Draw the hat buckle and add a 4 leaf clover.
- Erase line and add clover specifics.
- Trace with a marker and colour.
Pin me to your Pinterest Board
More Fun St. Patrick’s Day Projects
-
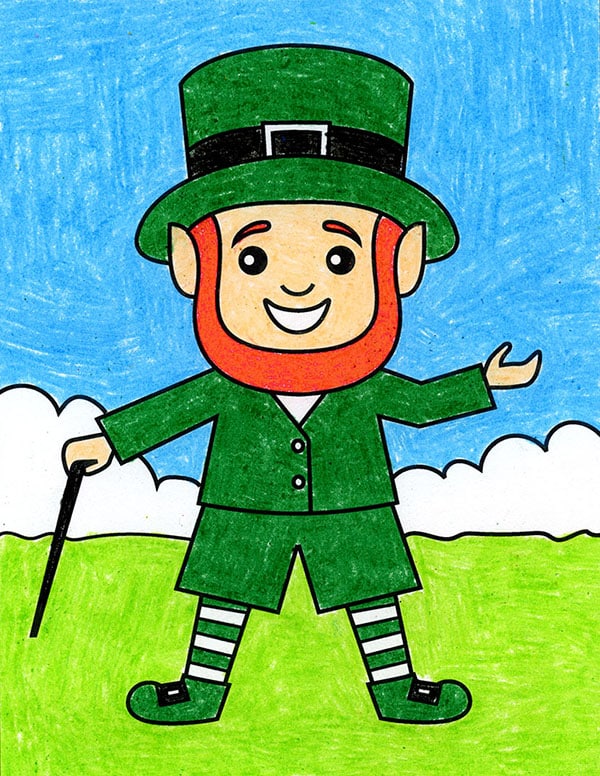
Leprechaun
-
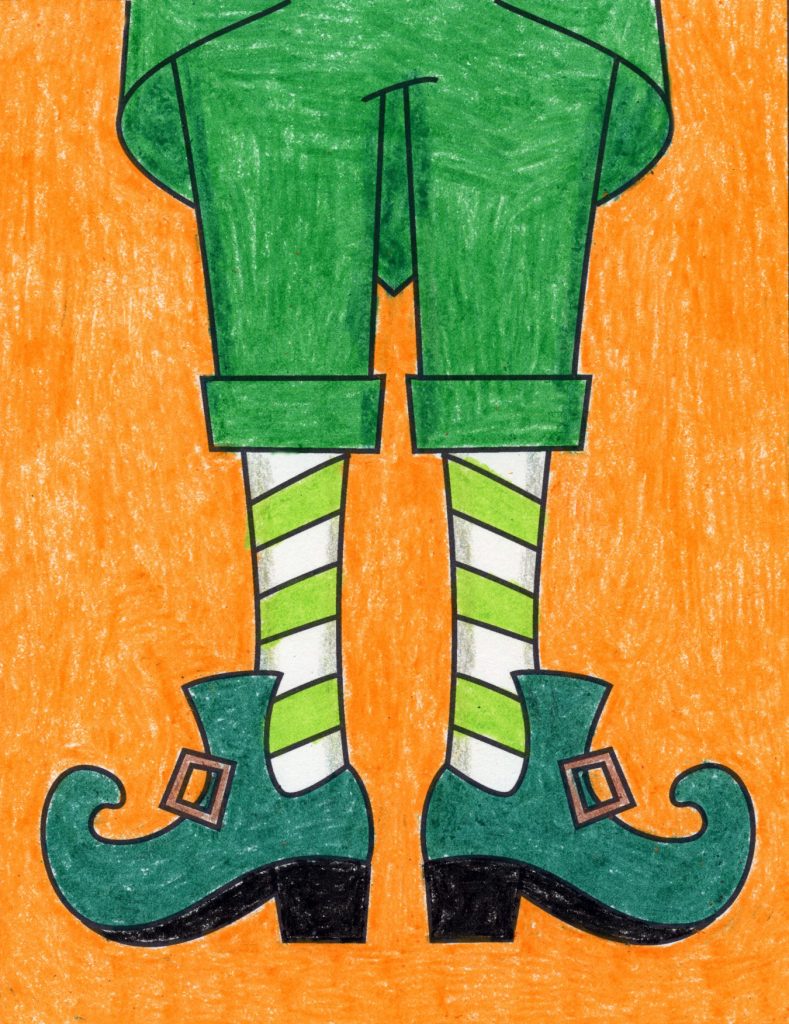
Leprechaun Legs
-
Celtic Knot
-
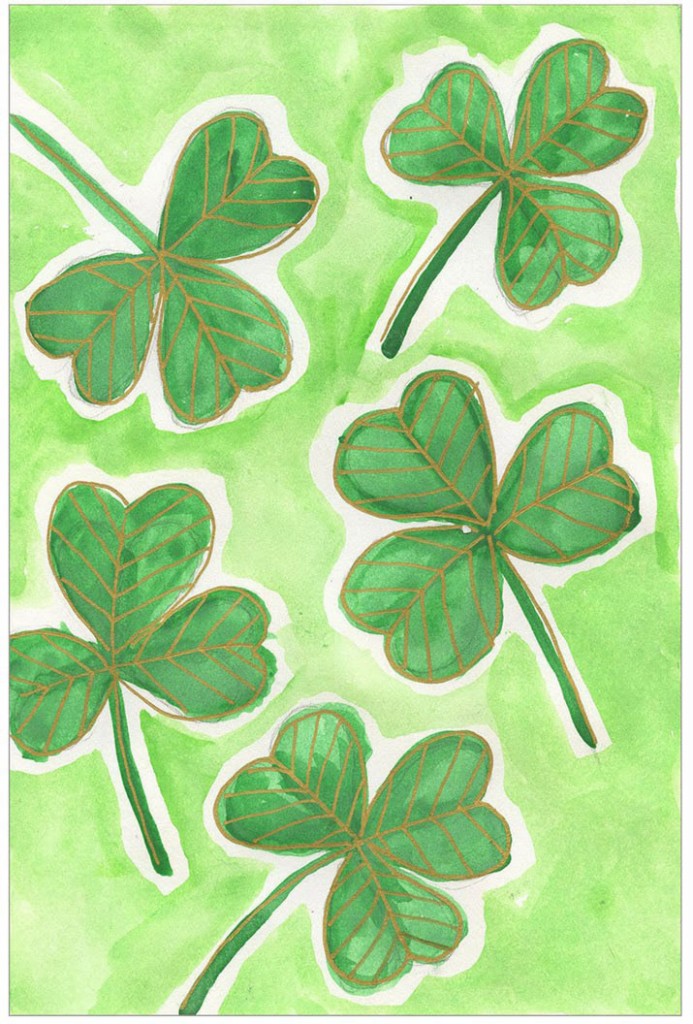
Shamrock
-
Rainbow