Bring Your Party to Life!

Fantasy Character

Fairy And Princess
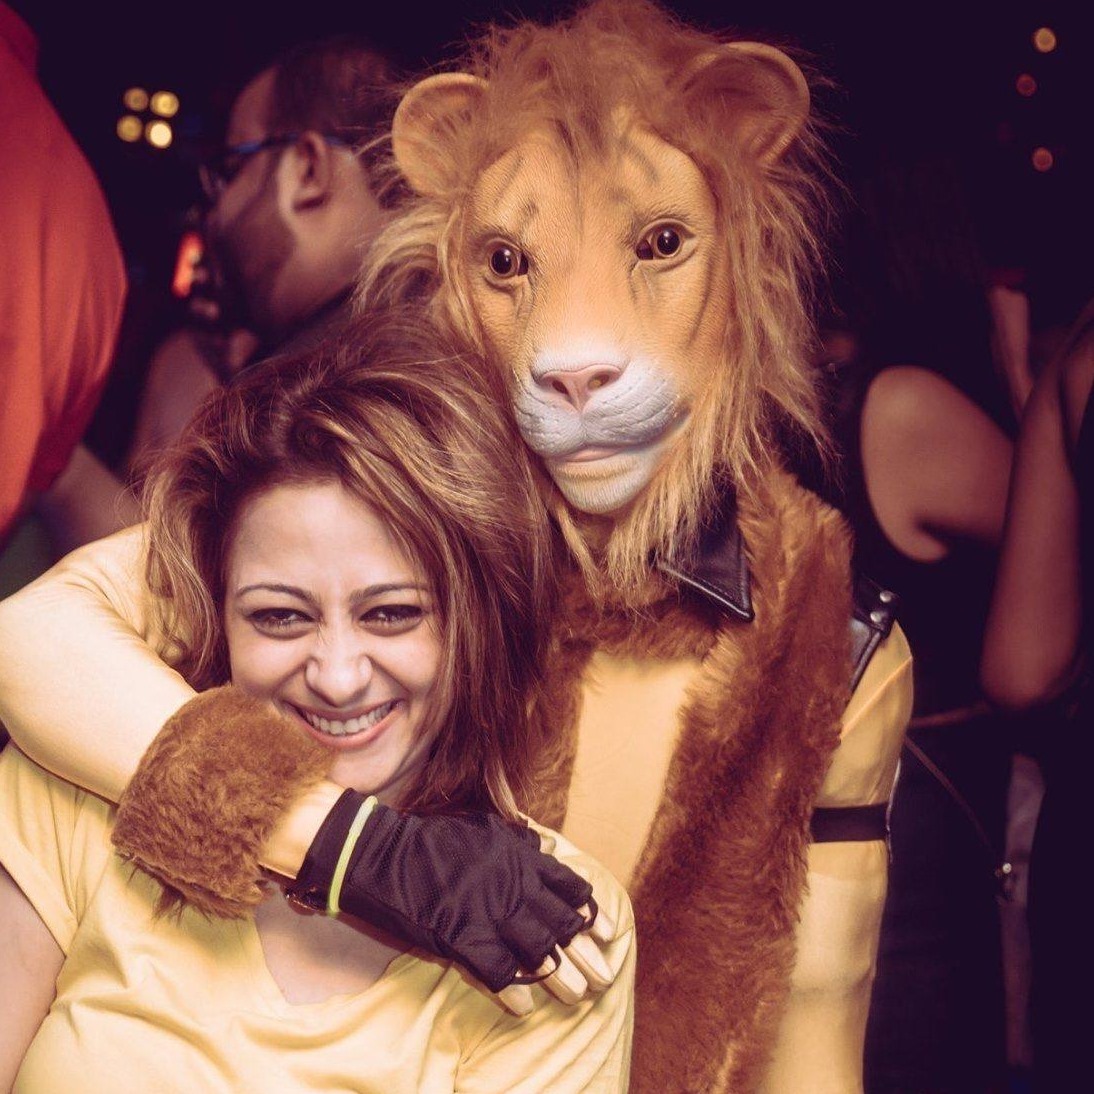
Jungle Explorer
Book live Princess and Fairy characters for birthdays, celebrations, and special occasions.
Call us +91-9354342598, to learn more and their availability.
Book Your Character TodayMake your celebrations unforgettable with our wide variety of live Princess and Fairy characters JINZZY exclusive. Surprise entry, bubbles, dance and gifts.
We cater private birthday parties, kidzones and clubs.
Fantasy Character
Fairy And Princess
Jungle Explorer

5 Star Rated On Google